In this guide, you’ll learn how to convert a text file to PDF using a Power Automate flow and Muhimbi PDF Converter. This example shows how to convert a text file to a PDF, but you can switch the input file to another file type. You can see the file formats we support here.
Steps to convert your text file to PDF using Power Automate:
- Create a flow in Power Automate
- Define your action
- Create a file
- Publish your workflow
This example uses Power Automate to convert a text file to PDF in SharePoint. However, you can save your text file to Dropbox, Google Drive, OneDrive, or any platform supported by Power Automate. You can also extend our example by adding additional automation, such as sending the converted PDF as an email.
1: Creating a New Flow in Power Automate
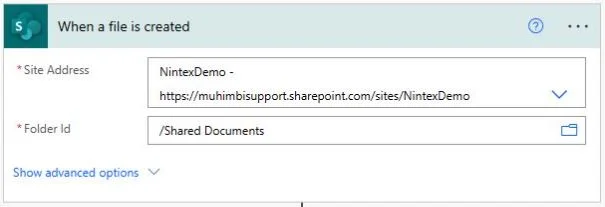
Create a new flow and use the When a file is created trigger. Fill out the URL for the site address and select the relevant SharePoint library from the dropdown menu.
2: Converting Text to PDF
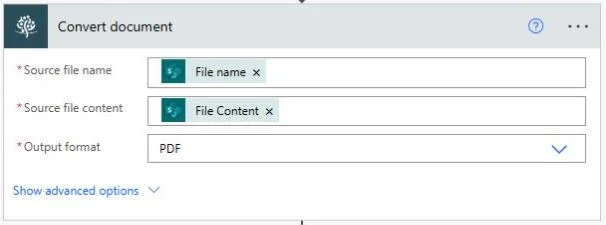
Insert Muhimbi’s Convert document action and fill it out as shown in the screenshot displayed below. You’ll need to substitute the Source file name and Source file content fields with suitable values.
3: Creating a File
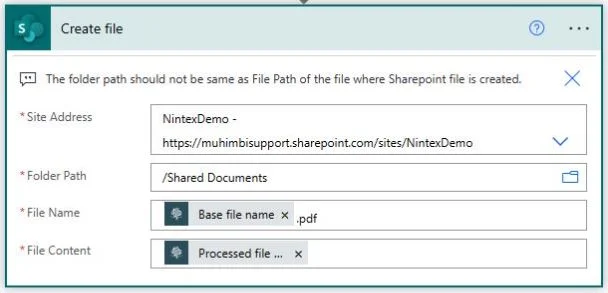
Insert a Create file action to write the converted file back to SharePoint Online or your desired destination.
4: Publishing the Workflow
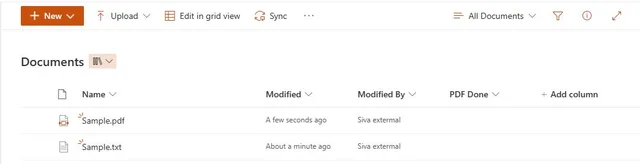
Publish the workflow and upload a text file in the specified document library. After a few seconds, the flow will trigger and a PDF file will be generated.
Additional Resources
For more information, refer to the following resources.