Muhimbi’s PDF Converter for Power Automate recently added a new action — Compress PDF — which effectively reduces the size of PDF documents. By applying advanced compression techniques, this action optimizes PDF files while preserving their quality.
Follow this guide to learn how to achieve the optimal compression for your PDFs. With customizable options, you can have complete control over which configurations are applied to your files. Experience the convenience of sharing, storing, and transmitting PDFs effortlessly with the streamlined and efficient Compress PDF action.
From a high level, your flow will look like what’s shown below.

Step 1: Creating a Flow in Power Automate
Create a flow and find the When a file is created or modified (properties only) trigger. Using this trigger will allow you to start the flow when adding or modifying a property of a file in a folder.
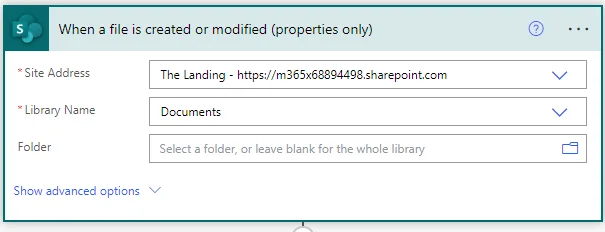
In the action, specify the path to the SharePoint Online library to monitor for new items.
Step 2: Getting the File Content
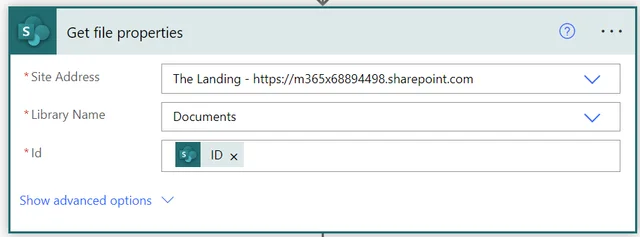
Add the SharePoint Get file properties action to the Power Automate canvas. In the Site Address field, specify the path to the SharePoint Online site collection that holds the file. In the ID field, include the output of the When a file is created or modified (properties only) action.
Step 3: Compressing the PDF
Add the Muhimbi Compress PDF action to Power Automate and configure it with reference to the details below.
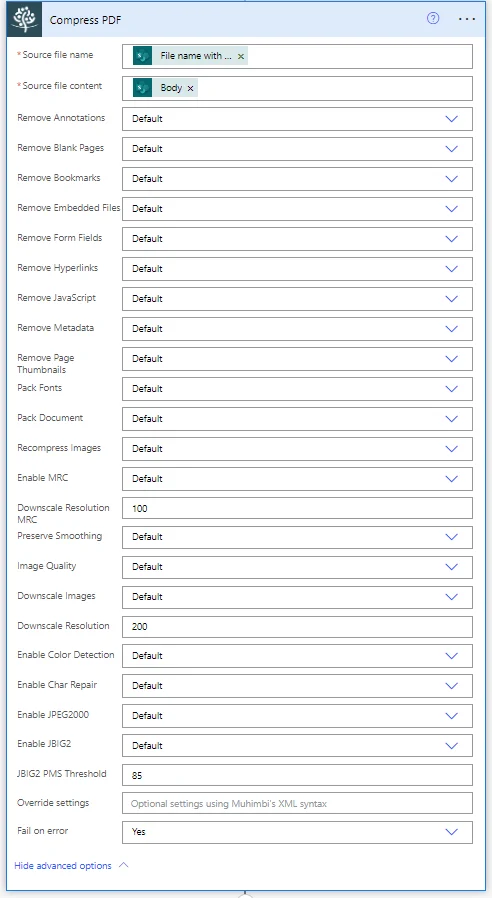
In the Source file name field, include the file name with its extension, which is the output from the When a file is created or modified (properties only) action. In the Source file content field, enter File Content, which is the output of the Get file properties action.
Leave the other options as their default settings, though you may want to change the advanced options, as shown in the image above.
Step 4: Creating a File
Add the Create file SharePoint action to store the PDF document in the library.
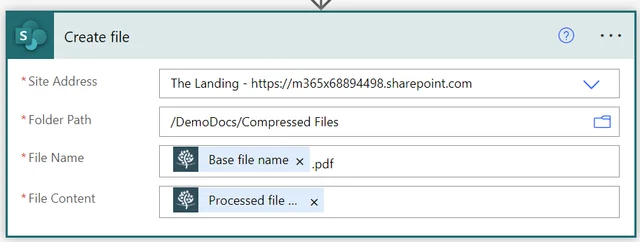
For the file name, enter Base file name.pdf, which is the output variable of the Compress PDF action. For the file content, enter Processed file content, which is the output variable of the Compress PDF action.
That’s it. Publish your flow and upload a file (e.g. a PDF) to the folder that’s monitored by the configured SharePoint trigger. After a short wait, you’ll find a compressed PDF document in the destination document library or folder in SharePoint.