Muhimbi’s PDF Editor for SharePoint lets you fill and capture PDF form data directly in SharePoint Online and on-premises. Open a PDF form in SharePoint and fill in text fields, select checkboxes, add dates, type signatures, and more. Once a form is completed, save it back to your SharePoint library.
Step 1: Opening a PDF File
Go to the SharePoint library and click Upload to import a PDF from your computer, or select an existing PDF from the library.
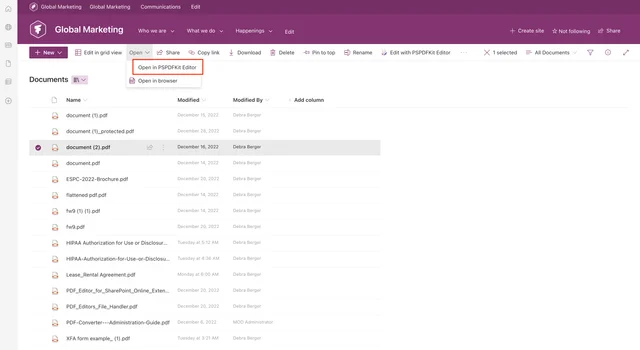
Click Open from the dropdown menu and choose Open in PSPDFKit Editor.
Step 2: Filling Out a PDF Form
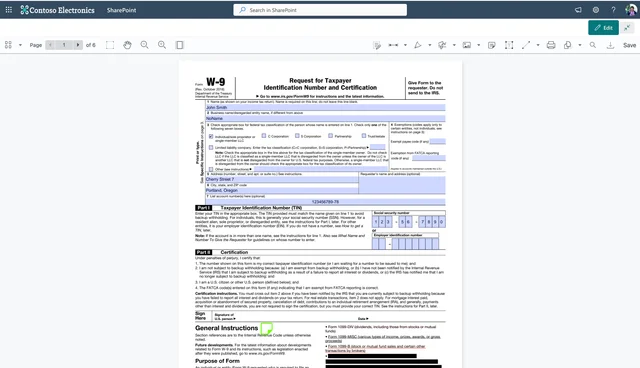
Fill out a PDF form by clicking on the form fields and typing.
Step 3: Saving the Filled PDF Form
Click Save to submit your PDF form to the SharePoint library, or click Export to download the PDF to your computer.
Once you fill out a PDF form in SharePoint, you can also add comments and annotations to the PDF and highlight, underline, or strike through text.
Troubleshooting
If you can’t edit a PDF form and it doesn’t seem to be fillable, that means your PDF is an XFA form. Our technology only supports AcroForms. However, there’s a workaround solution to fill XFA forms:
- Click the Sign icon and choose the Type tab.
- Type the text or numbers you want to fill in the XFA form.
- Choose the color and font style, and click Done.
- Drag the text to the proper position and resize it if needed.
- Repeat this process for each field.
Free Trial
Try PDF Editor for SharePoint Online free for 14 days by downloading the app directly from Microsoft App Source. This is a full trial version, without watermarks, but limited in time. There’s an unlimited trial version, where all files are watermarked, and you can choose between three different installations: file handler, web part, or online extension. Refer to the table on the free trial page to learn more.
PDF Editor for SharePoint On-Premises covers all different license types and SharePoint editions (2013–2019 and SE). The detailed installation guide is included in the download. During the free trial, all your documents will be watermarked.