Muhimbi’s PDF Editor for SharePoint lets you add eSignatures to your PDFs directly in SharePoint Online or on-premises. To sign a PDF in SharePoint, you need to open your document in SharePoint and draw, type, or upload an image of your signature. There's no need to download documents from SharePoint to your local environment or open a third-party eSignature tool.
Step 1: Opening PDFs
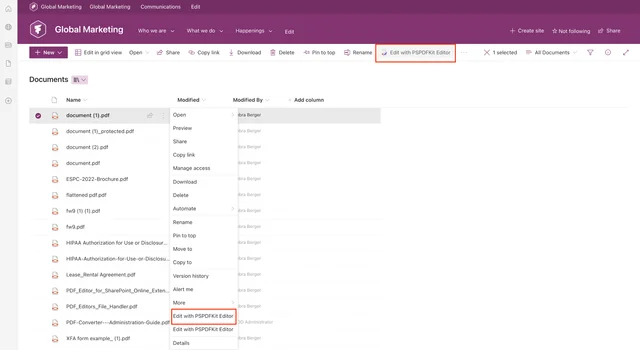
Select a PDF from the SharePoint library and right-click on the three dots menu. Click Edit with PSPDFKit Editor.
Step 2: Creating Electronic Signatures
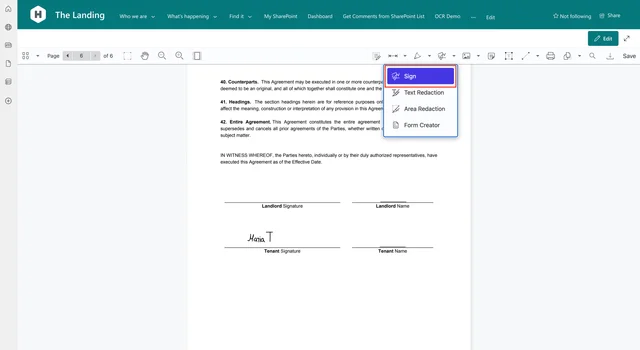
Select the Sign icon in the main toolbar of the PDF Editor to sign a PDF in SharePoint. Signing a PDF document in SharePoint with Muhimbi’s PDF Editor can be done in three different ways: by drawing a signature, typing a signature, or adding an image of an electronic signature.
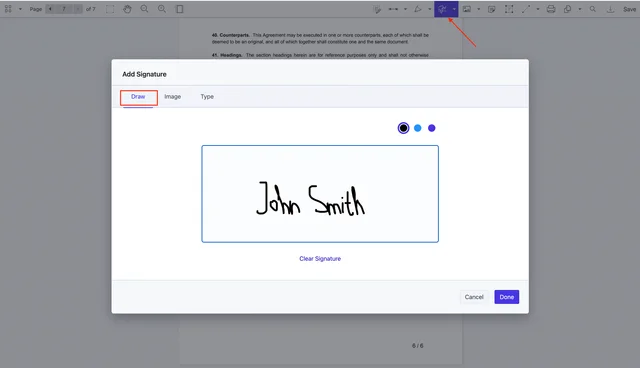
Using the Draw option requires drawing your signature by pulling the cursor in the right direction.
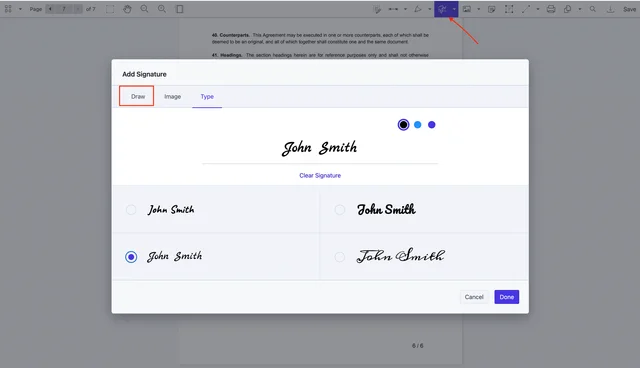
Click Type to quickly generate a signature in a PDF. Choose the style and the color of the font, type in your name, and click Done.
To insert an image of a signature into a PDF, click Image and upload an image file from your computer. To confirm, click Done.

Step 3: Adding Signatures in PDFs
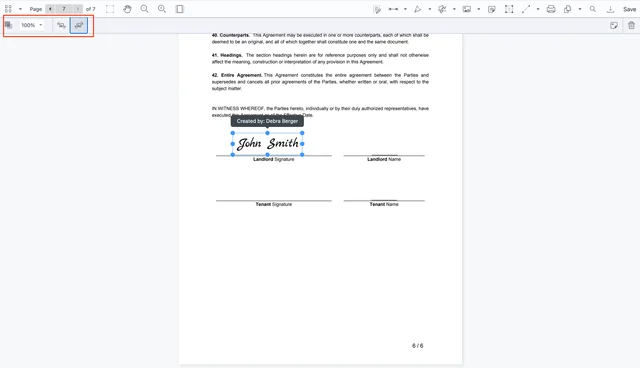
Once you create a signature, it will show up in the PDF document. You can move it and place it where you want, and you can also resize it by adjusting the edges of the signature borders.
Free Trial
Try PDF Editor for SharePoint Online free for 14 days by downloading the app directly from Microsoft App Source. This is a full trial version, without watermarks, but limited in time. There’s an unlimited trial version, where all files are watermarked, and you can choose between three different installations: file handler, web part, or online extension. Refer to the table on the free trial page to learn more.
PDF Editor for SharePoint On-Premises covers all different license types and SharePoint editions (2013–2019 and SE). The detailed installation guide is included in the download. During the free trial, all your documents will be watermarked.