In this guide, you’ll learn how to save a file to PDF using Power Automate. For this specific example, you'll monitor a SharePoint folder and automatically save any new file to PDF to your local computer (see supported file formats).
It’s also important to note that you can easily customize this example to save your PDF to other destinations, like Dropbox, Google Drive, OneDrive, or any platform supported by Power Automate. You can also extend our example by adding additional automation, such as sending your PDF as an email.
Prerequisites
- Power Automate subscription.
- Gateway for Power Automate (installed and configured).
- A full or free trial subscription of Muhimbi PDF Converter for Power Automate.
- Appropriate privileges to create Power Automate flows.
- Working knowledge of Power Automate.
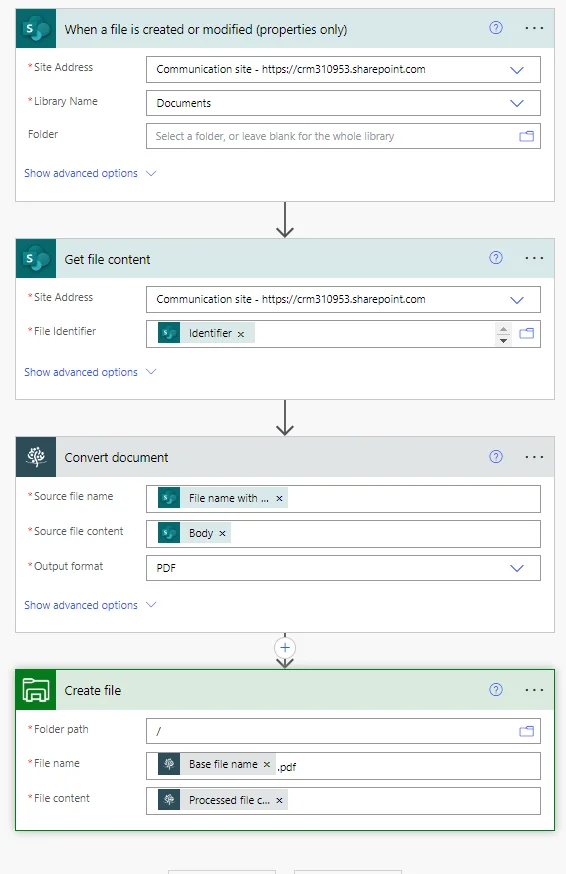
1: Creating a Flow
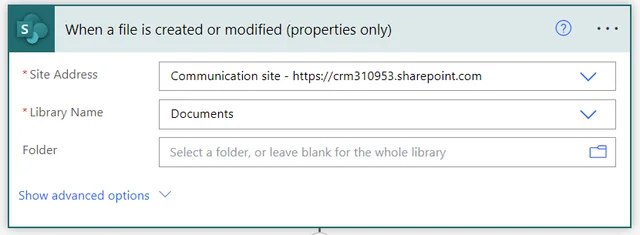
Create a flow and find the When a file is created or modified (properties only) trigger. Using this trigger will allow you to start the flow when adding or modifying the property of a file into a folder.
In the action, specify the path to the SharePoint Online library to monitor for new items.
2: Getting the File Content
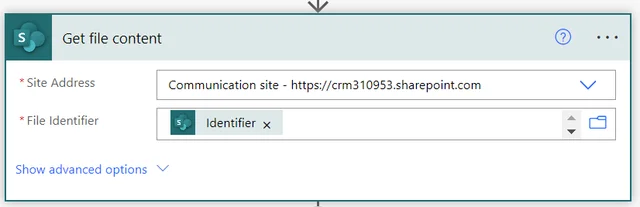
Add the SharePoint Get file content action to the Power Automate canvas and configure it as shown in the image below.
- Site Address — Specify the path to the SharePoint Online site collection that holds the file.
- File Identifier — Add Identifier, which is the output from the When a file is created or modified (properties only) action.
3: Converting to PDF
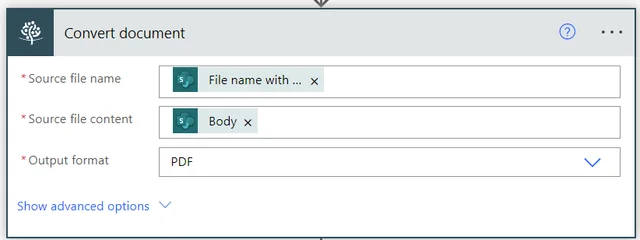
Add the Muhimbi Convert document action to Power Automate and configure it with reference to the details below. If your source documents are already in PDF format, this step isn't needed.
- Source file name — Add File name with extension, which is the output from the When a file is created or modified (properties only) action.
- Source file content — Add File Content, which is the output of the Get file content action.
- Output format — PDF
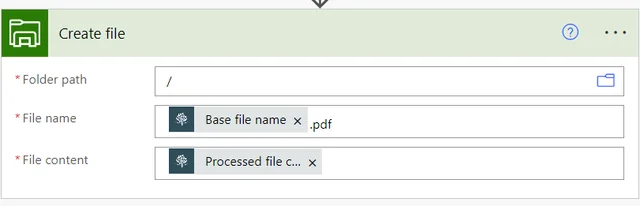
4: Creating a File
Add the Create file SharePoint action to store the PDF document in the File Explorer action library.
Note: You'll need to configure a gateway to write files to your file system, as mentioned in the prerequisites section.
- File name —
Base file name.pdf, which is the output variable of the Convert document action. - **File content ** — Add Processed file content, which is the output variable of the Convert document action.
Now, publish your flow and upload a file (e.g. an MS Word document) to the folder monitored by the configured SharePoint trigger. After a short wait, you'll find the file on your computer in PDF format.
Additional Resources
For more information, refer to the following resources.