In this guide, you’ll learn how to OCR a PDF document in SharePoint using a Designer workflow. This enables you to process scanned or bitmap-based content and generate fully searchable PDFs. We’ve also added support for the ability to recognize text on (part of) a page and return the actual text (not a bitmap) to the workflow for further processing. A common use for this functionality is to extract a particular area of text from documents that use a common template or layout.
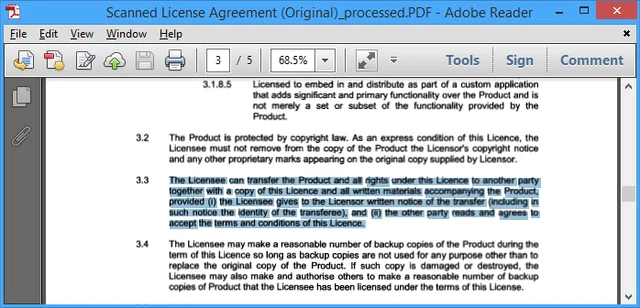
Most organizations deal with scanned (or other bitmap-based) content on a regular basis. Faxes are received in a digital inbox, and invoices or legal documents are scanned and filed away in a file system or MS SharePoint library or other document management system. The problem is that this is information that cannot be searched or indexed using traditional technology. This is because the content is stored as one big image that cannot be indexed by search crawlers and, as a result, does not show up in search results.
This is where optical character recognition (OCR) comes in. OCR analyzes image-based content — e.g. a scanned PDF or an image embedded in a MS Word file — and applies some image recognition logic and then embeds the result in a PDF. The scanned content still looks the same, but you can now copy text from the document, and search crawlers can index this text as well.
It's possible to carry out OCR using our standard Convert document workflow, but that requires knowledge of our XML syntax, which — although powerful — is less than user friendly. To simplify the process, we created a separate workflow, Convert to OCRed PDF. The image below shows what it looks like.

this document — The source document to convert and OCR. For most workflows, selecting the current item will suffice, but some scenarios may require the lookup of a different item.
this file — The name and location to write the generated file to. Leave this field empty to use the same location and name as the source file. If your source file is already in PDF format, leaving this field empty will overwrite it. For details about how to specify paths to different libraries and site collections, see this blog post.
include / exclude metadata — Control if the source file’s SharePoint metadata is copied to the destination file.
OCR language — The language the source document is written in. It defaults to English, but from version 7.2 and higher, we also support Arabic, Danish, Dutch, Finnish, French, German, Hebrew, Hungarian, Italian, Norwegian, Portuguese, Spanish, and Swedish.
OCR performance — Specify the performance and accuracy of the OCR engine. The recommendation is to leave this on the default setting, Slow but accurate.
Whitelist / Blacklist — Control which characters are recognized. For example, limit recognition to numbers by allowing 1234567890. This prevents, for example, a 0 (zero) from being recognized as the letter o or O.
Pagination — In some specific cases, a single image spans multiple pages. Enable pagination for those cases.
Regions — By default, the entire page is OCRed. To limit OCR to certain parts of a page, e.g. a header and/or footer, you can specify one or more regions using our XML syntax. Refer to this blog post, but only use the part that starts with (and includes)
\<Regions\>…\</Regions\>.List ID — The ID of the list the processed file was written to. This can be used later in the workflow to perform additional tasks on the file, such as a checkin or checkout.
Item ID — The ID of the processed file. This can be used with the List ID.
Although creating simple workflows in SharePoint Designer is relatively easy, if the concept of MS SharePoint Designer workflows is new to you, take a look at our Getting Started Knowledge Base article.
Note: The OCR and PDF/A Archiving add-on license is needed to use OCR in your production environment.