Muhimbi’s PDF Editor for SharePoint lets you measure PDFs in SharePoint Online or on-premises. Enable your users to measure the distance, perimeter, and area of drawings in a document. Adjust the measurement precision with scale calibration and the use of a magnifying glass.
Step 1: Opening a PDF File
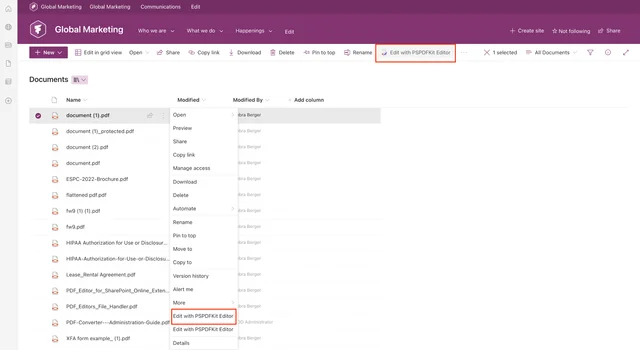
Select a PDF from the SharePoint library and right-click on the three dots menu. Then click Edit with PSPDFKit Editor.
Step 2: Selecting the Measurement Tool
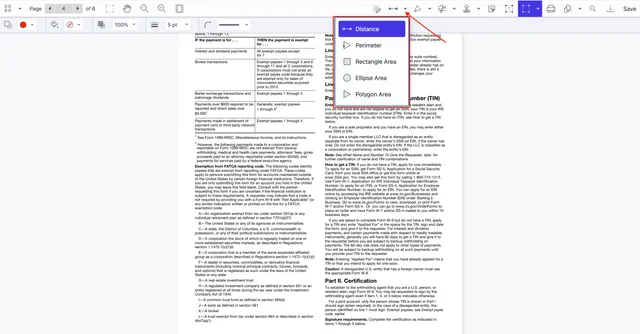
Click the second icon from the left in the top-right toolbar and select a measurement tool from the dropdown menu. You can choose to measure distance, perimeter, rectangle area, ellipse area, or polygon area.
Step 3: Editing Measurement Settings
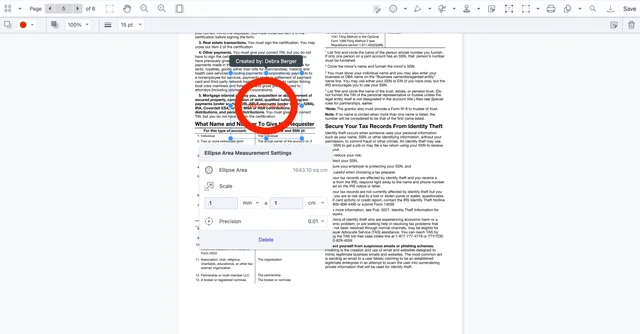
Upon selecting the measurement tool, an additional window will appear where you can change between imperial and metric units. If this window doesn’t show up immediately, click the annotation.
You can also pull the annotation borders to resize the measurement area.
In the top-left corner of the toolbar, you can change the color of the measurement annotation, its opacity, and the thickness of the annotation lines.
In the top-right corner of the toolbar, there are options to add a note to your annotation or delete it, but you can also delete it by clicking the button on the measurement settings window.
Finally, click Save to save the changes to your PDF document.